Curriculum and Regulations Committee Routing System
Guidelines for Curriculum Proposals
Definition
of Terms
1. Packet: The sum of all information regarding a document is called a Document Packet. The packet includes all attachments, notes, etc. associated with a document.
2. Packet Affiliation: A Document Packet can be affiliated with other Document Packet(s) to form a Document Bundle.
3. Document Bundle: Multiple Document Packets may be linked through the affiliation tool to form a Document Bundle.
4. Delegate: Allows a user to grant permissions to another user to act upon that user’s behalf.
Document Status Codes
1. Saved: The initial document is created when the user clicks on the document name in the Navigation Tab. This document is available to the person who submitted it to make changes and has NOT been routed.
2. Submitted: The [Route] button has been clicked and the document is routed. This document is still available to the person who submitted it to make changes and has been routed to the first person in the route list.
2. Enroute:
The [Save] button next to the response drop down selection list has been clicked by someone in the routing list who responded
to the document and it is currently “somewhere” in the routing lists. This document can no longer be changed.
3. Complete: The document has made it all the way through the routing list and everyone required to approve has responded “Yes”.
4. Cancelled: The document did not make it all the way through the routing list and someone required to approve has responded “No”.
5. Deleted: The document was deleted by the person who submitted it and does not show up on any selection lists.
Document Routing Requests
1. Approval:
Required to move routing forward. Route sequence will only move forward when response is “Yes”. Document cannot be
completed until all Approvals have a response of yes. If any response is “No” then the
document is cancelled.
2. Acknowledge: Not required to move routing forward. Document cannot be completed until all Acknowledges have a response. It does not matter what the response is.
3. FYI: Not required to move routing forward. Document can
be completed without a response.
Routing Response
1. Yes: Route sequence will move forward if approval request.
2. No:
Route sequence will not move forward if approval request.
3. Tabled: Route sequence will be reset to the beginning if approval request.
3. Auto: Auto Response for Complete Documents with FYI Request. A nightly procedure that automatically updates all completed CRCRS non-responded FYI requests with "Auto" responses.
|
|
To Access the Curriculum & Regulation Committee Routine System, type in the following URL in your Internet browsr: http://carta.bradley.edu/crcrs
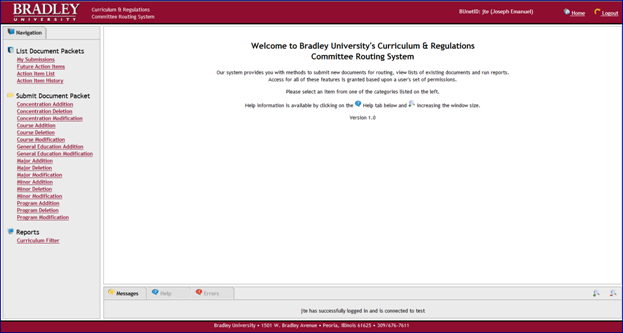
Log in with your BUNet ID and your regular AD password. Press the Login button. The Home screen will appear.
Basic Screen Navigation
Title Bar
![]()
· Indicates ‘Curriculum & Regulation Committee Routing System’
· BUnetID of Logged in User
· Home Link (returns you to this page)
· Logout Link
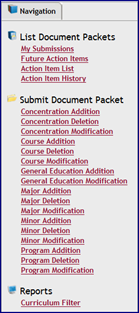 Navigation Tab - Left Panel
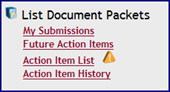
List Document Packets
· My Submissions – History of Packets you have submitted
· Future Action Items – Document Packets being routed to you that have not yet arrived
· Action Item List – Document Packets waiting for some ‘Action’ to be taken by you
· Action Item History – Document Packets that have passed through your Action List
Submit Document Packets – A list of the types of Documents that you can submit
Reports – A list of the types of Reports that you are allowed to run
Messaging – Bottom Panel
Appropriate tab will show when a new message is generated
![]()
· Messages – Response messages to actions completed by user
· Help – Static Help and FAQs
· Errors – Error Message tab
To Expand the messaging panel, click on the ![]() icon
located on the right.
icon
located on the right.
To Collapse the messaging panel, click on the ![]() icon.
icon.
Submitting a Document Packet
To create a Document Packet, click on the Appropriate Document Type in the Navigational Panel.
![]()
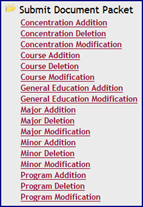
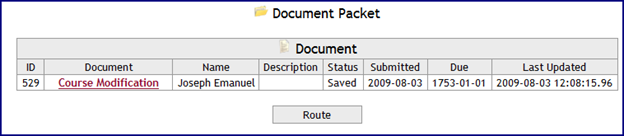
A blank ‘Document’ is immediately generated in a ‘Saved’ status with your user name and the date.
![]()
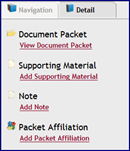
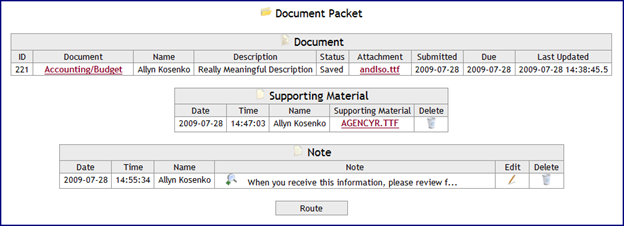
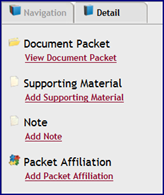
The Navigation Panel will display a Detail Tab which allows the user to add information to the new Document Packet created.
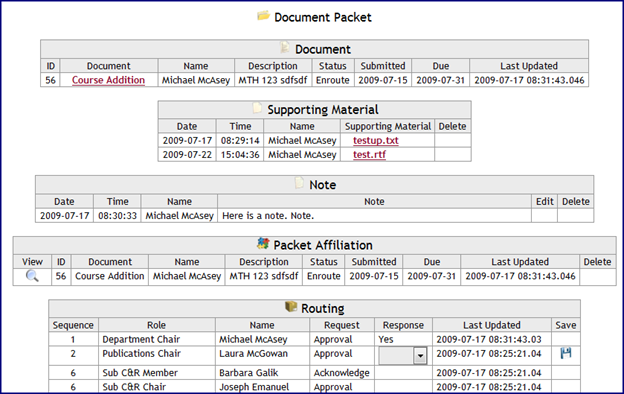
 Document Packet
View Document Packet – Shows current information about the Document Packet
Supporting Material
Add Supporting Material – Allows the user to attach any type of file to be included the Document Packet
Note
Add Note: Allows the user to add additional notes which will stay with the packet throughout the routing process
Affiliation
A document Packet can be affiliated with other Document Packet(s) to form a Document Bundle.
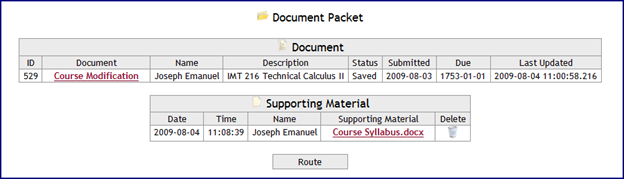
To add information for a Course Modification, click on the Course Modification link in the new Document Packet. The Course Modification form will be presented on the screen.
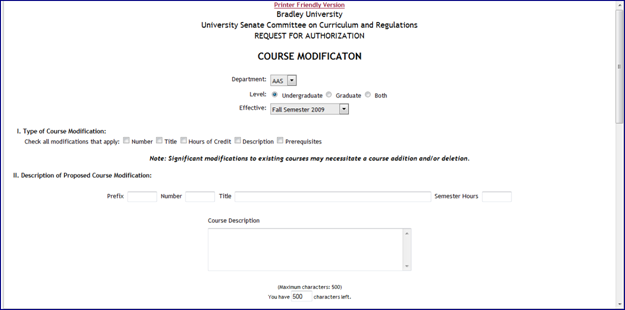
At any time, the user may exit this form and returned to add additional information. Simply scroll to the bottom of the form and click on the ‘Save’ button.
![]()

Note: The Document Packet Description has been modified.
![]()

![]()
 Multiple
documents may be attached to a Document packet. There is no limit. To add
another supporting document to the Document Packet, click on the ‘Add
Supporting Material’ link on the Navigation tab.
Multiple
documents may be attached to a Document packet. There is no limit. To add
another supporting document to the Document Packet, click on the ‘Add
Supporting Material’ link on the Navigation tab.
The ‘Add Supporting Window’ will appear. Click on the ‘Browse’ button to navigate to the location of the additional file you wish to attach.
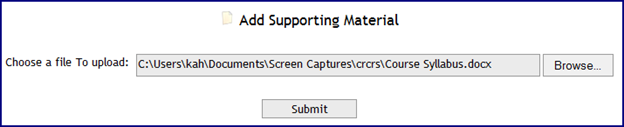
Click on the ‘Submit’ button. The Document Packet screen will display the original Document plus the Supporting Material.
Notes may be added to provide a further explanation to the recipients of actions to be taken, etc.
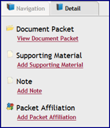
To add a note, click on the ‘Add Note’ link on the Navigation tab.
![]()
There is not a limit on the number of notes which may be added to a Document Packet. Simply type in any additional comments which will be attached to the Document Packet.
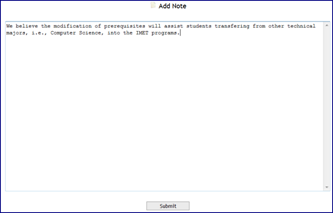
Once the Submit button has been clicked, the updated Document Packet will be displayed.
Only the individual who added the Note has the permission to Edit or Delete the note. Click on the appropriate icon to the right of the note to make changes or remove the note from the Document Packet.
A Document Packet can be Affiliated with other Document Packet(s) to form a Document Bundle.
 To do this, click on the ‘Add Packet
Affiliation’.
To do this, click on the ‘Add Packet
Affiliation’.
A list of available Document Packets will be shown.

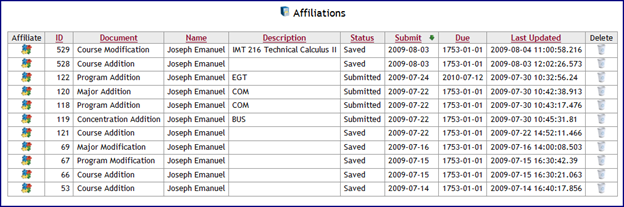
Click on the Affiliate icon ![]() to add the affiliation to your Document
Packet. Multiple affiliations may be added. When finished, your Document Packet
will look like:
to add the affiliation to your Document
Packet. Multiple affiliations may be added. When finished, your Document Packet
will look like:
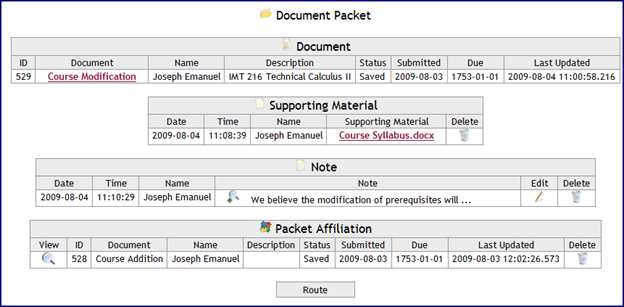
When are satisfied the Document packet has all relevant information, press the ‘ROUTE’.
If an error occurs when submitting a Document Packet, the information regarding this error will appear in the message bar below the Document Packet.
![]()
![]()
Return to the Document Packet to make corrections. Once corrections have been completed, click the Route button again. The Document Packet’s Status will change to ‘Submitted’. The predetermined Routing List will automatically attach to the Document Packet.
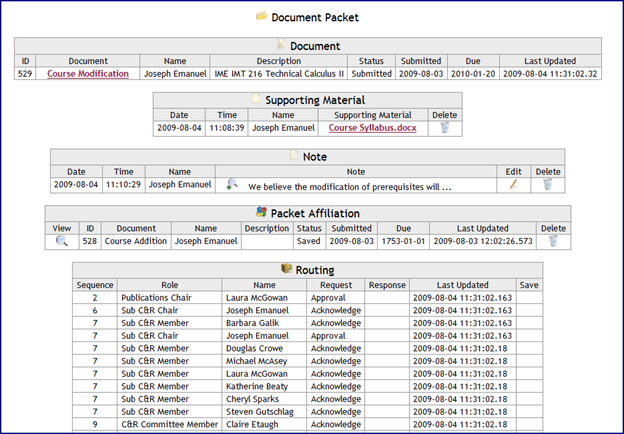
Once the Document Packet has been successfully routed, two actions will occur. The next individual(s) in the routing list will receive an email notification. Additionally, an icon will next to the Action Item List link in the user’s Navigation bar indicating there are Document Packet(s) which requires the user’s attention.
![]()
Click on the ‘Action Item List’ to view the list of Document packets which have been routed to the user.

Click on the ![]() icon
to view the Document Packet.
icon
to view the Document Packet.
Additional notes and supporting material may be added to the Document Packet. The original Document Packet information though cannot be changed.
Once review is completed, select the appropriate Response from the drop down box and click on the ‘Save’ icon on the right to continue the routing process.